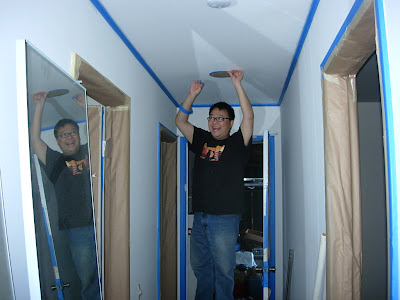
We've already started with cleaning out garage, so the next step is to paint the interior and exterior of the house. Before painting, though, it is imperative to make every room. That's my job. I've been masking for the past few days now, and I gotta tell you, my neck, knees, shoulders are killing me. I'm getting the job done though, and that's a good thing. Below is the step by step process, in case anyone out there plans to mask sometime in the near future.

- Apply Masking Tape to Areas That Will Not Be Painted
Using "blue tape" or another low-stick masking tape, apply short lengths (no more than 24") of tape at a time on the area to be masked. - Press Masking Tape Down--Hard
Press the masking tape firmly onto the surface with the tips of your fingers. Make certain there are no bubbles or folds in the tape for paint to wick under the tape. This is the advantage of using low-stick tape: you can press it down very hard without worrying about the tape pulling the paint up. - Paint Surface Outside Masking Tape
Paint the non-masked area. Because you firmly pressed the tape down, you can safely hit the paintable areas without fear of the paint seeping under the tape. - Wait Until Paint is Dry Before Removing Masking Tape
Wait until the paint is dry. If you need to do a second coat of paint, do that. But I recommend removing and then remasking if you want to do any more than two coats. Any more than two coats of paint and the tape will not be strong enough to cut the dried paint on top of it. - Remove Masking Tape
Take a deep breath and pull the tape off in a slow, continuous motion at a ninety-degree angle to the painted surface. The tape will "cut" the paint in a clean line.


No comments:
Post a Comment