Re: Red Camera - FCP Workflow For Idiots
by Russell Lasson on Apr 2, 2008 at 9:47:14 am
Basic workflow for 4K 2:1 R3D (2048x1024) files to ProRes.
INTEL MAC REQUIREDVariation 1:
- Take the H QuickTime into compressor. NOTE: The actual proxies need to stay in the same folders as the R3D file that they reference.
- Create a ProRes HQ setting at 1920x1080 with audio pass-through.
- If you want the footage letterboxed in a 16x9 frame, enable the letterbox filter and set the manual letterbox to 89.0.
- If you want to crop the sides to fill the 1920x1080 space, then under geometry, change the crop to setting to 16x9 1.78.
- Compress the files and use those for masters from here on out.
Before compressing in Compressor, open each clip in RedAlert and do basic image color/exposure adjustments. Then create new QuickTime proxies.
Variation 2:
Once you've compressed the footage to ProRes for editing, open all clips in RedCine. Make your color/exposure adjustments. Set it up to render to whatever you want and let it go for a really long time (anywhere from a day to a couple of months depending on your machine, what format you're rendering to and how much footage you have.) Once you're done, reconnect the first back of Compressor ProRes files to the new files from RedCine. This is where changing names using automator is really, really useful if you accidentally named your clips different names.
My opinion is that for HD or SD masters, a ProRes workflow is acceptable quality for many shows. If you're going out to film or Digital Cinema, then using 2k dpx files or 16-bit tif files is better.
-Russ
Russell Lasson
Kaleidoscope Pictures
Provo, UT
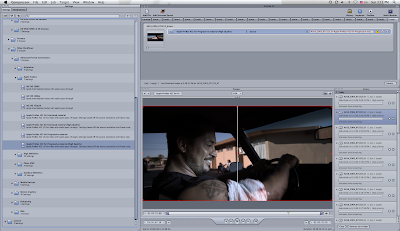
This process took a few hours to complete, and when the last compression completed, Sig, Dinah, and I rejoiced. It felt good to be faced with a challenge and to work through it as a team. Susannah has been such a learning experience so far, and it's only day one!


No comments:
Post a Comment